It seemed easy enough. And a nice, inexpensive Mother's Day gift.
I went to a local craft store and gathered up my supplies:
1 styrofoam wreath
1 spool of wide ribbon
cardstock (plain and printed. I used scrapbook paper)
straight pins
I started off by wrapping the ribbon around the styrofoam wreath. I pinned the end of the ribbon and then wrapped it all the way around.
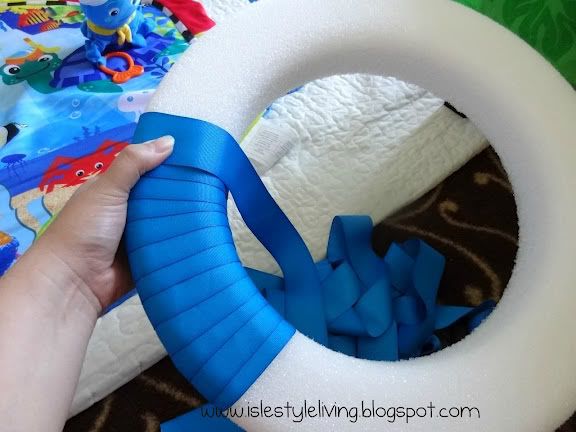
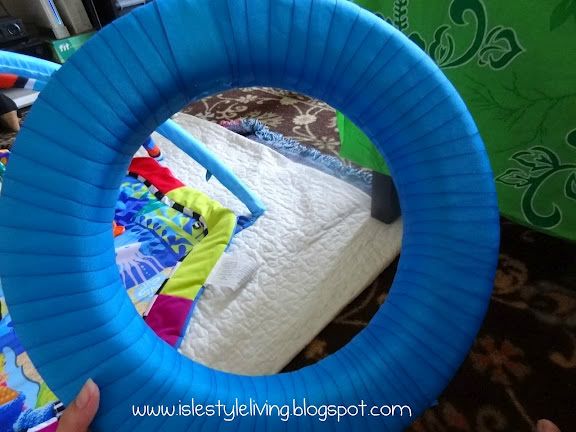
I used another pin to hold the end in place.
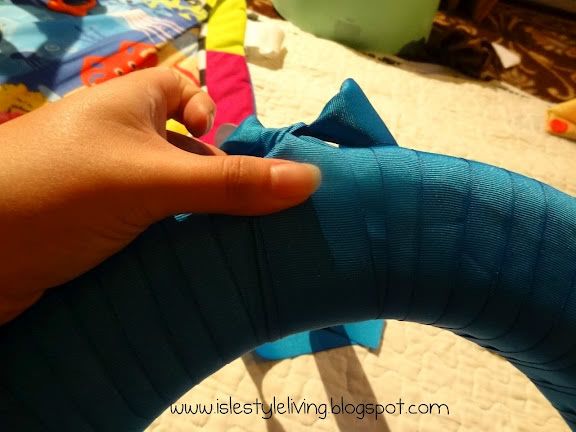
The next step I did out of order but recommend you do it next: Fix the hanging ribbon.
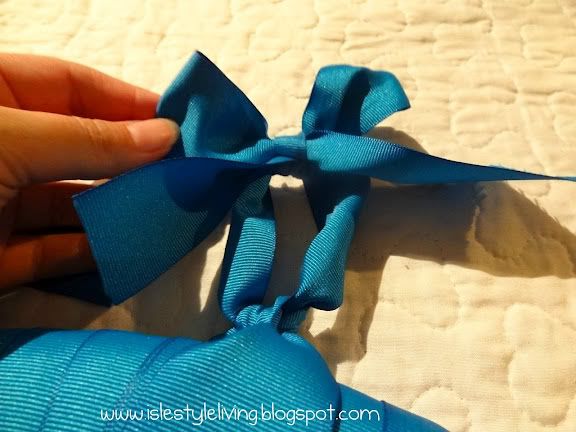
Using another pin, I tied a long piece of ribbon at the top of the wreath, left some room for a loop and tied a bow at the top.
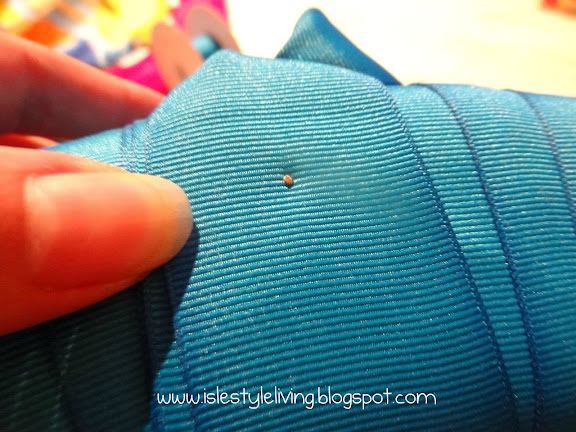
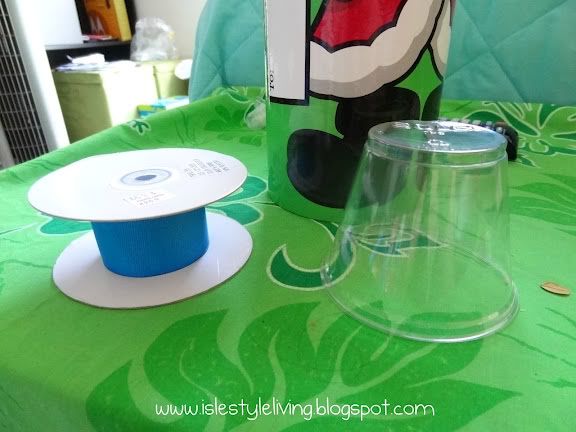
Next I traced circles on my photos and cardstock using whatever I could find around the house. I used a clear Solo cup for my small circle, the ribbon spool for the bigger circle, and a cylinder container for the largest.
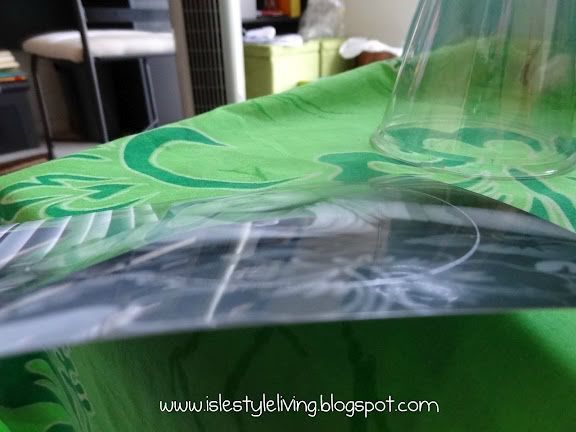
I traced using a pencil which created a groove on my picture and let me follow pretty easily with my scissors.
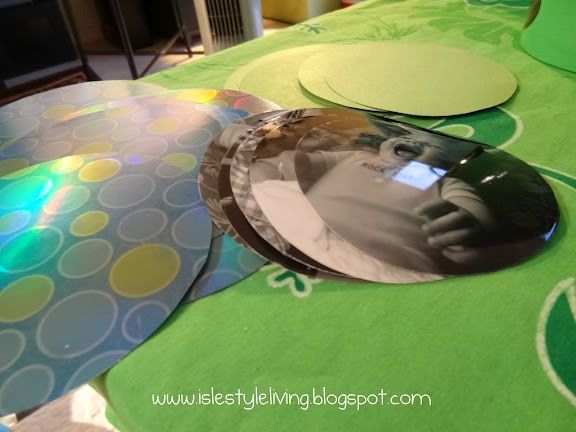
Using a photo safe glue stick I glued my photos onto the green cardstock and the green cardstock onto the printed scrapbook paper.
I then began to position my circles around my wreath.
I always start at the "12" and "6" o'clock positions, choosing photos I want to be the focal point. I chose a picture of me, my husband, and Phillip at the top and one of me and Phillip on the bottom.
Next comes the "3" and "9" o'clock positions. I chose 2 pictures where Phillip has the biggest smile!
I always build my wreaths (diaper wreaths, Christmas wreaths) this way so that it's balanced. I then decorate by "quarters".
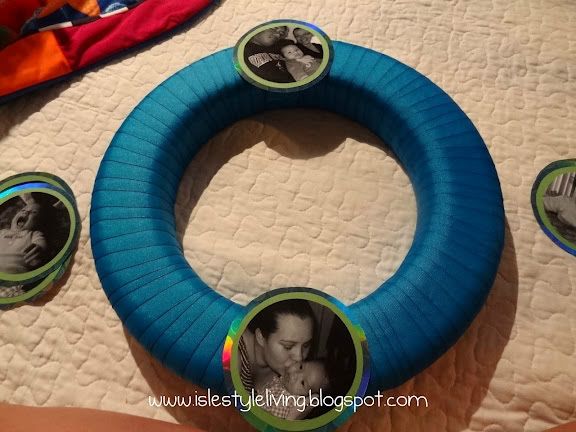
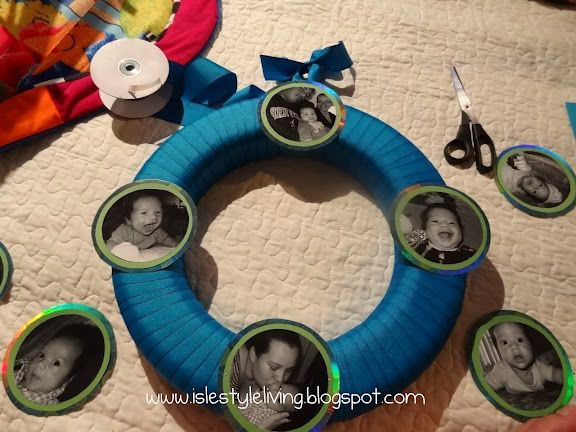
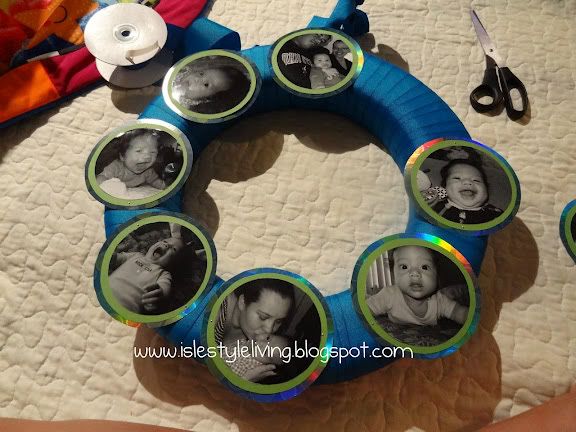
As I positioned each photo I used two straight pins to hold them in place. The tutorial on the blog where I found this idea said to use a "brad".
First off, I had no idea what a "brad" was until I walked into the craft store. It is used to fasten pieces of paper together, just like a fastener on an envelope.
I found that the pins worked better in terms of functionality, but didn't add much in terms of decoration.
The entire project took me 2 hours to complete, from wrapping the wreath, tracing and cutting photos and cardstock, gluing all the pieces together, and pinning all the photos.
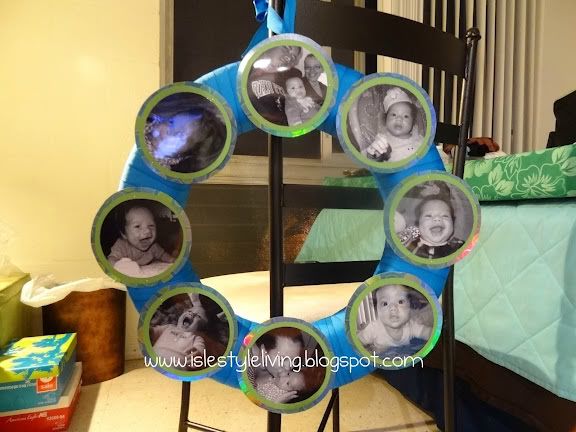
I think my wreath is bigger than the one I found on Pinterest. I didn't want my photos to overlap because I love the color of the ribbon. It also leaves room for me to other photos (smaller circles or different shapes).
I might add a bit more decoration but I don't want to take away from the photos themselves or make it too feminine. We're moving in the summer and I would like to hang this in Phillip's room.

I love this idea! I think it'll look great in Phillips room :) great job!
ReplyDeleteSo precious! I love personal touch to home decor:)
ReplyDeleteWhat a great photo wreath - such a creative way to display family photos! Pinterest is pretty amazing with how many ideas you can take away from that site, but it can also be pretty intimidating. I have tried my hand at a few DIY projects and they never seem to turn out as beautifully as the ones that are pinned.
ReplyDeleteI love this so much! What a great idea.
ReplyDeleteThis is really cute!! Great Idea. I'm gonna pin it.. lol...
ReplyDeleteHope you are having a beautiful day. So thankful for you to have you following me. It means the world. Dont be a stranger :) lol...
xoxo Eden
SwBeautifulLife.blogspot.com